Bringing 2D Cartoons to Life: Enhancing with Shading Techniques
Cartoons have long been a beloved art form, capturing imaginations with vibrant characters, playful worlds, and expressive storytelling. Though traditionally created on a flat surface, skilled cartoonists have developed techniques to make their characters seem to “pop” off the page. By adding depth, dimension, and realism through the strategic use of shading, artists can elevate static images into striking, dynamic works that engage audiences on a deeper level.
Some of the most notable cartoonists and illustrators—like Walt Disney, Hayao Miyazaki, and Winsor McCay—have mastered the art of shading to create compelling and multi-dimensional animations and illustrations. Whether working with pencil and paper or using advanced digital tools, cartoonists rely on shading to create volume, depth, and realism, breathing life into their characters and worlds.
In this comprehensive guide, we’ll explore shading techniques in detail, along with some insights on materials and tools, to help you achieve a three-dimensional appearance in your 2D cartoon artwork.
1. Understand Light Source and Direction:
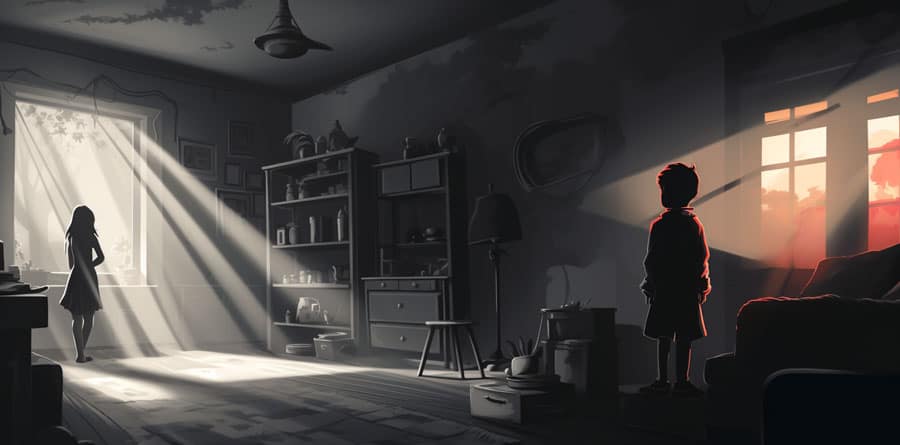
One of the most crucial aspects of shading is mastering the concept of light source and direction. The position of your light source determines how shadows and highlights fall on your characters and objects, dictating the overall mood and realism of your artwork. For instance, light from above will cast short, defined shadows, while light from the side creates longer, more dramatic shadows.
Famous artists like Leonardo da Vinci and Disney animators often studied light sources meticulously to achieve realistic, consistent shading. In cartoons, consistent lighting is key to credibility and coherence.
Tips:
- Reference real objects: Place an object under a light and observe where shadows naturally fall. This practice will help you build an instinct for light and shadow in your drawings.
- Experiment with lighting angles: Adjusting the light direction can help achieve different emotional effects. Side lighting, for example, often creates a more intense, dramatic look.
2. Start with Basic Shapes and Outlines:
Begin your drawing by sketching the fundamental shapes that make up your character or object. Keep these lines light and loose, as they will serve as guides for where shadows and highlights will eventually fall.
Tools to Use:
- Pencils: Graphite pencils in grades H (hard) to B (soft) are ideal. Start with H pencils for light sketching, as they are easier to erase.
- Digital Brushes: For digital artists, programs like Adobe Photoshop and Procreate offer brushes that mimic pencil effects. Light opacity settings will allow for adjustments as you work.
3. Identify Areas for Shading:
Visualizing where shadows naturally fall can be challenging but is essential to creating depth. Shadows typically appear:
- Underneath objects or forms, such as under a character’s chin or a raised arm.
- In creases and folds of clothing or skin.
- Along edges and contours to add volume.

Notable Example:
- The shading techniques in Disney’s “Sleeping Beauty” and “The Lion King” animations are particularly famous for their subtle yet effective shadowing, especially in fabric and animal fur, which create realistic volume.
4. Gradual Tone Building:
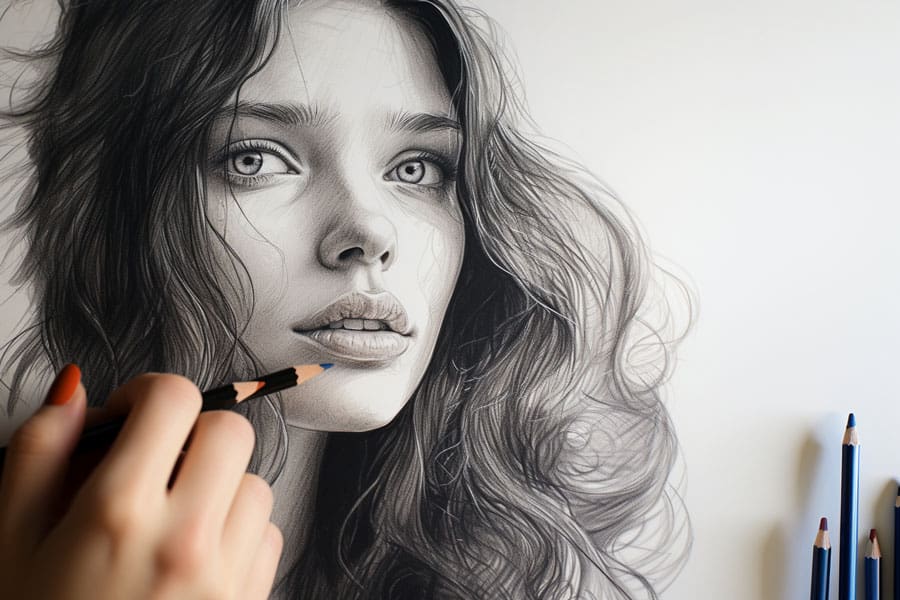
Using a range of pencils (from 2H to 6B for traditional art) or digital brushes, start shading by layering tones gradually. Start with a lighter shade and increase the intensity to build up darker tones, which will help maintain smooth transitions.
Techniques for Tone Building:
- Soft Pencil Shading: Begin with a 2H or HB pencil for the lightest tones and gradually work toward a 6B for deep shadows.
- Digital Tools: Use digital software like Procreate or Clip Studio Paint, where you can select soft brushes and adjust opacity for seamless blending.
5. Pay Attention to Highlights:
Highlights are essential to creating depth and adding realism. These are the areas where light hits most directly, often left untouched or lightly shaded to represent reflected light. The contrast between these highlights and your shadows will amplify the three-dimensional effect.
Tip:
- Use a White Gel Pen or Eraser: On traditional media, a white gel pen or an eraser can create highlights in areas that are too shaded.
- Digital Brushes: For digital art, try using a soft brush with a low-opacity white color for delicate highlights, as seen in characters from Pixar animations where highlights add vitality to animated features.
6. Experiment with Different Shading Techniques:
Experimenting with shading techniques allows you to achieve various textures and effects:
- Cross-Hatching: Often used by comic artists like Stan Lee and Jack Kirby, this technique involves intersecting lines to create shadows, adding intensity and texture.
- Stippling: Adding small dots to create shadow gradients is ideal for areas that require subtle transitions.
- Blending and Feathering: Smudge tools or blending stumps are excellent for creating smooth gradients, particularly for skin tones or soft materials like fabric.
Famous Example:
- Hayao Miyazaki’s Studio Ghibli films often employ feathering techniques to create soft, delicate transitions, adding to the surreal yet grounded feel of his animated worlds.
7. Focus on Depth and Perspective:
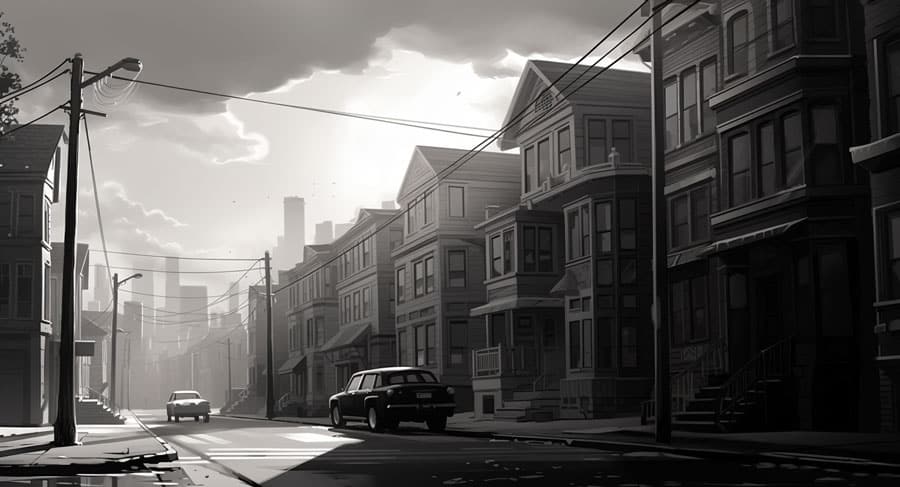
To create depth, make objects in the background lighter and less detailed, while the foreground elements should be darker and more defined. This technique, known as atmospheric perspective, creates an illusion of distance.
Tools and Techniques:
- Pastels and Colored Pencils: Soft pastels or colored pencils are excellent for lighter backgrounds, adding a muted, blurred effect.
- Digital Blur: In programs like Photoshop, using the Gaussian Blur tool can soften background details, mimicking atmospheric perspective.
Example:
- Winsor McCay, creator of “Little Nemo in Slumberland,” skillfully used background blurring and light shading to give his characters depth, establishing them in a vast, dreamlike landscape.
8. Practice and Refinement:
Mastering shading is a gradual process that takes practice. Study real-life objects and shadows, take time to experiment with different techniques, and explore how lighting affects different materials. Consider joining an online art community where you can share your work and receive feedback to improve.
Artistic Supplies:
- Graphite Pencil Sets: Staedtler and Faber-Castell offer high-quality pencil sets for precision shading.
- Blending Stumps: Blending stumps (or tortillons) are essential for creating soft gradients in pencil shading.
- Software Tools: Adobe Photoshop, Procreate, and Clip Studio Paint are popular digital platforms offering advanced shading options for cartoonists and illustrators.
Conclusion:
Shading is a powerful tool that can transform a simple 2D cartoon into an engaging, lifelike piece. Through strategic light and shadow placement, artists create illusions of three-dimensionality, capturing audiences with characters and worlds that appear ready to jump off the page. From Walt Disney’s pioneering animation techniques to modern digital art, shading has remained a fundamental skill in the artist’s toolkit.
By practicing with different tools, understanding light, and refining shading techniques, you’ll be able to bring unparalleled depth and realism to your 2D cartoons, captivating audiences and adding a new dimension to your artistic storytelling.

