Using Opacity Levels to give Your Cartoons a Hand Drawn Look!
One thing I used to miss about good old pen and paper was the scratchy not quite perfect look that adds magical character to cartoons. For those of you who are totally digital getting that feel of the hand drawn look into your work can be a pain in the neck.
Digital art lets us get as near to perfection as possible with perfect lines, perfect shadows, perfect color shading and merging. So what can we do to take the ‘perfect edge’ off and give our cartoons that hand drawn look?
PhotoShop is a wonderful tool and you can just about do anything with a bit of knowledge. The problem is it’s too good and I often get so carried away with the wonderful array of tools that the artwork is lost in the softwares technical perfection and often looks too clean and precise.
Using opacity and flow levels is one way to get real!
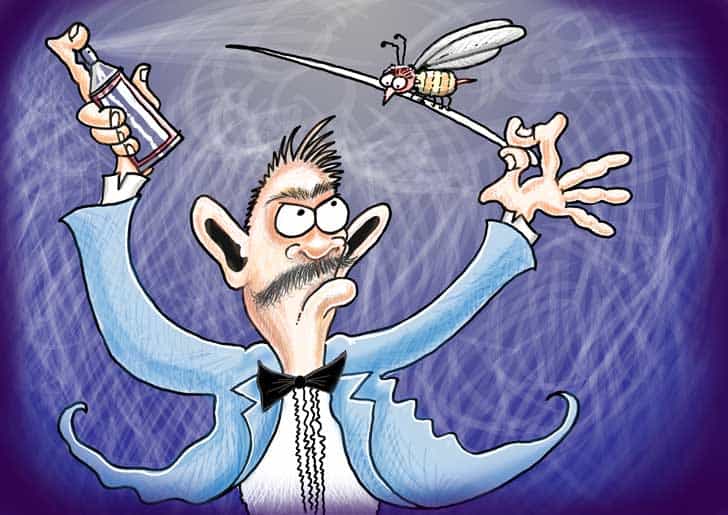
In the cartoon I have created in Photoshop (above) I have used a simple technique which harnesses the great power of the opacity controls when using the pencil and brush tools. Heres my process:
- I create the linework (black and white image), duplicate it and disable the original background image.
- Then start adding flat color either directly to it or on other layers. Once that is done we get to the interesting part.
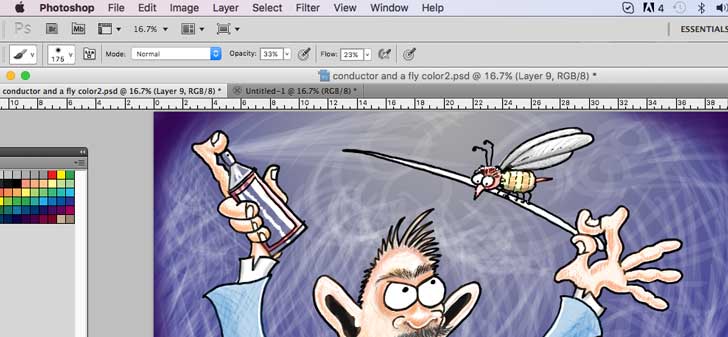
When you select the brush tool you will see the options for opacity and flow (In Photoshop Elements its just the opacity).
- Opacity controls the flow of paint on each brush stroke.
- Flow sets the volume of paint applied with each brush stroke.
This may sound a bit confusing as the two controls sound very similar in what they do with the paint. But just stick with me here (go with the flow!!!)
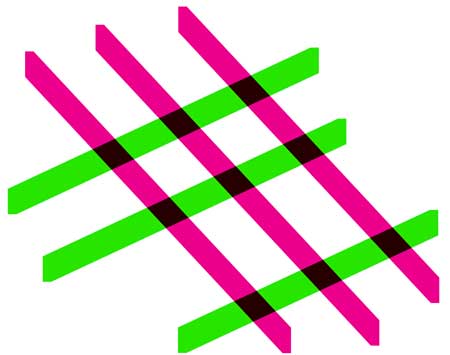 When you drop the opacity/ flow levels you get interesting effects which will be the basis of this exercise. With the opacity/flow levels reduced a smaller amount of paint is deposited per brush stroke.
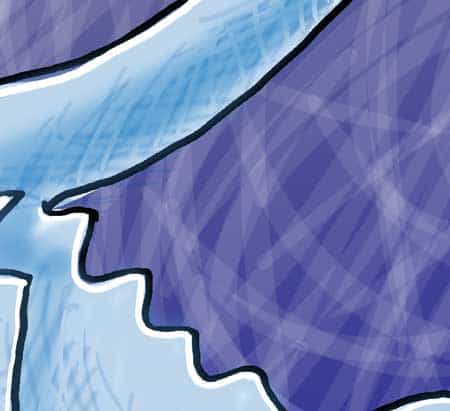
When you double back over a previous brush stroke you double the amont of paint applied where the two strokes cross.
As you can see in the image (right) I have used two colors to make this effect stand out. Where the opaque colors intersect the intersection is deeper in color as there is twice as much paint in this area with two brush stokes on top of each other.
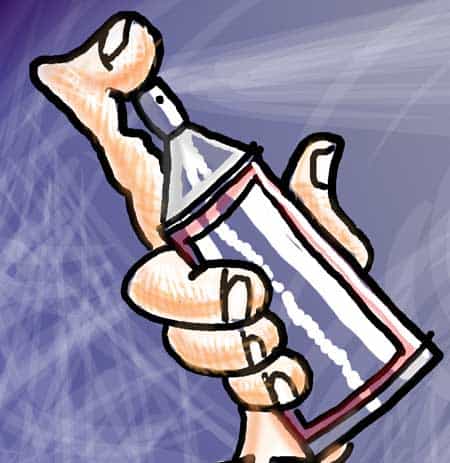 This can be utilised to give artwork that hand drawn look. There are some other really interesting effects to be gained from this technique.
- I select different opacity/flow and cross hatch areas of the cartoon to create textured tone.
You can clearly see the cross hatching on the fingers, which consists of lower opacity white and orange strokes over a base flesh color.
The more interesting effect is in the background which I had originally created on a seperate layer using the gradient tool (with a deep lilac merging into a mid grey).
By selecting a white brush and altering the opacity, flow and brush sizes I was able to create this background effect. It is quite an interesting effect as it uses the background ‘dead’ space to create the illusion of movement and depth, putting more life into the cartoon. You can reproduce the same effect using the eraser tool which removes the background color.
Useful PhotoShop keyboard Shortcuts
While you are playing around with this there are some really useful keyboard shortcuts. You can type in the opacity levels using the numerical keypad so 3 = 30% opacity 5 = 50% and so on. I don’t generally use many shortcuts simply because I can never remember them!!! but this on seemed easy to keep in the brain.
Another which is really useful is the square brackets… [ ] … on the keyboard (to the right o f the letter P. The left and right square brackets will increase and decrease the size of the brush (or any other drawing/erasing tool).
Brush or eraser tools can get you that hand drawn look
 The eraser can be used to remove color in varying degrees of opacity and flow – exactly like a brush but in reverse. Some simple experiments will provide you with great effects in PhotoShop and PhotoShop Elements.
Easy peasy – using the brush and eraser tools. Tweaking the opacity and flow to create that scratchy-scruffy look that gives your artwork that special hand drawn look!
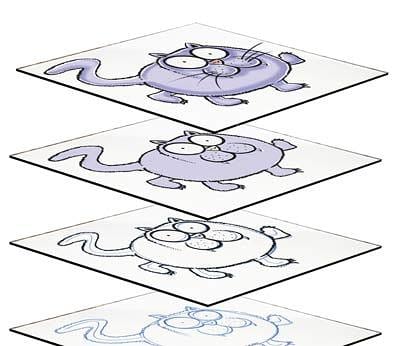 If you are not sure what PhotoShop layers are or what they can do for your cartooning take a look at my article which explains the concept and how you can use layers to your massive advantage!
